

I mean isn't he fucking smokin'?
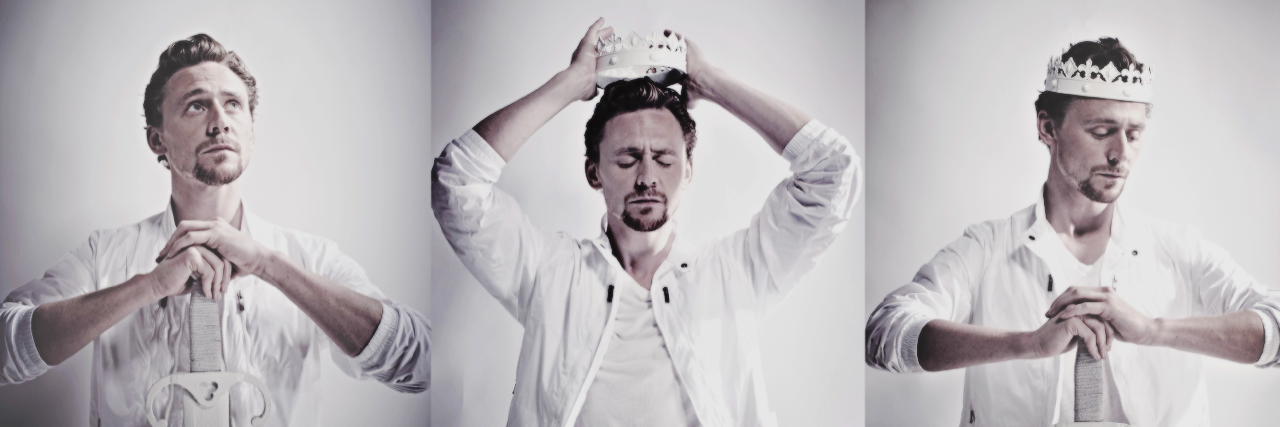
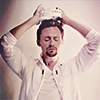
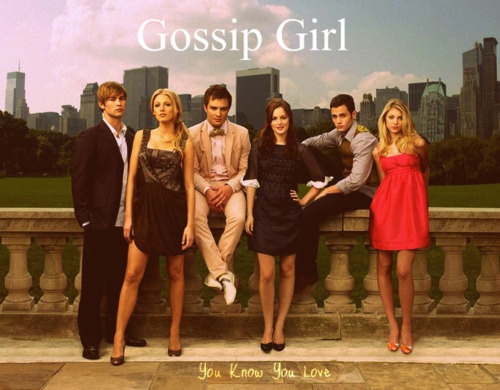
Okay, so first I took the center image of this and cropped it.
And after giving up on making it blue, I deeply sighed and created a curves layer.
Input: 127 Output: 128
It only changed the icon a bit, but I was just so done I was glad even for that.
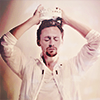
I added a vibrance layer.
Vibrance: +50, Saturation: +20
I stamped the layers and used variations. I attempted using blue variations but that didn't do any good either. So I just went with yellow, red, lighter. (Do not change the order.)
I set the layer to 50% opacity, and I actually liked the result, considering I was basically tearing my hair out at this point.
So here I decided to go with a beige/yellowish color. I used litrato filter and set the colour to #ecc300
Density is 25% and preserve luminosity is checked.
It gave it a nice tint, but I wanted it to be madami intense, so I created a Hue/Sat layer.
Sat: +20
Lightness: +5
I was really loving the colours and patting myself on the back sa pamamagitan ng this time, but, of course, that wasn't it. Layers time!
The first layer I sued was this one, all I did was ilipat it so that the coloured line on the left ceased to show, and set it on screen. I did not resize it.

this is sa pamamagitan ng mm3butterfly on livejournal
The segundo texture was this one. I set it on colour burn and 50% opacity.

The third one I set to soft light at 26% opacity. I actually resized it to 100x100 this time.

also sa pamamagitan ng mm3butterfly
result:
Not too shabby, but the colours are still too dull. So I used another texture. This one also gave a special light blob effect because of the flying white leaves it has. I set it to over lay, 58% opacity and 54% fill.

by fauxism at livejournal
And then I added a black and white gradient fill layer. I set it to soft light with 33% opacity and 65% fill.

much better
Afterwards, I stamped the layers and went to filter > blur > gaussian blur. The radius was 3.4 and the layer settngs were soft light, 33% opacity and 14% fill. It didn't change much, but it added a minor soft effect. And we're done.
Do ask if you have any questions.

"So, Westeros. It's not exactly like our universe. It's more.. medieval. Can't explain. Nevertheless, we've got lots to do there and we will be staying for a while."

The Doctor took that as a yes and opened the doors to the grim future.
Jackson and Diana were in the cafeteria still, laughing at their high school memories.
"And this one time, Derek and Stiles-", Jackson couldn't even finish his sentence with all the laughing. Diana was having a time of her life, and she couldn't help but to wish she could feel like this madami often. She truly, truly liked Jackson.

"I think I would fit in well at your group", she sinabi after she'd stopped laughing.
"It's not really a group, but you would", Jackson agreed. "A witch would fit right in."
"I'm not a witch", Diana snapped. "Not really....
continue reading...
"And this one time, Derek and Stiles-", Jackson couldn't even finish his sentence with all the laughing. Diana was having a time of her life, and she couldn't help but to wish she could feel like this madami often. She truly, truly liked Jackson.
"I'd like to see you at your craziest"
"I think I would fit in well at your group", she sinabi after she'd stopped laughing.
"It's not really a group, but you would", Jackson agreed. "A witch would fit right in."
"I'm not a witch", Diana snapped. "Not really....


Brady was a trained soldier who was respected amongst everyone. He also had the body and the bruises to prove it.