
I just decided to share on how I make my crossovers. This is also to help others who want to learn how to make crossovers. :)
Now making crossovers is a fun hobby, especially if you're pairing up your paborito characters.
So here's what you need to make a crossover:
1. litrato Editing Program - this is the main thing that you need in making crossovers. You can use any program you like. I use link It's an online editing website and you don't need to pay or register. Just get in there. xD
2. Your favored pictures. You can merge numerous characters in one picture, your choice.
Tip#1: Use picture with great quality for better result.
=====================================================================
Tip#2: Here's a great site to use screencaps of animated films. -- link
=====================================================================
Now you've got what you need, let's start with the editing.
Step 1: Choose the larawan that you want to edit.
In my sample, I used a picture of hasmin and Sinbad (with Marina).

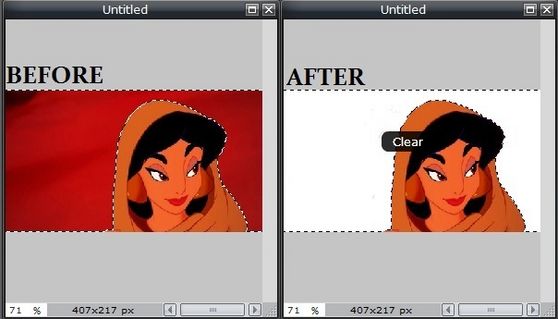
Step 2: The susunod thing you need to do is to remove the background of the picture that you want to move. The easiest way to do this is to click the magic wand tool found at the toolbar.

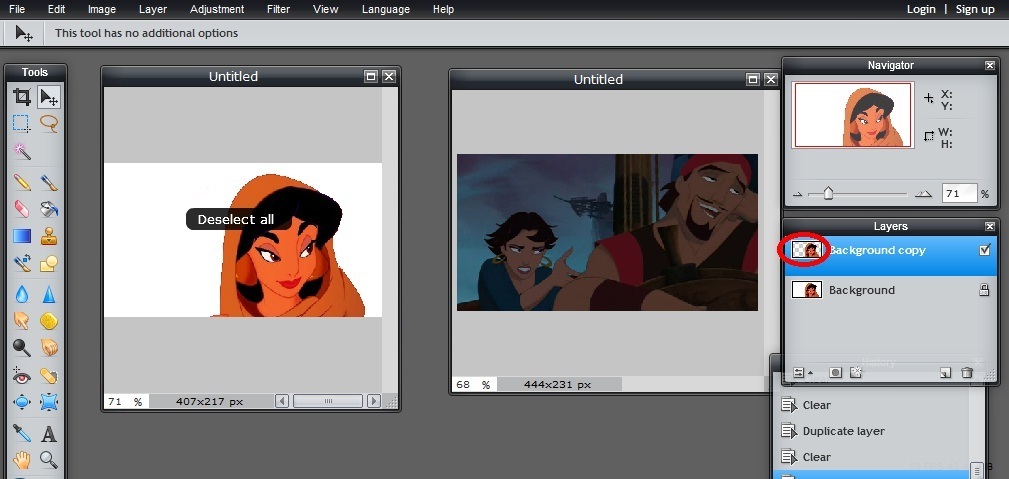
Step 3: Once you've clicked that, click anywhere on the background as dotted lines will soon appear. Press the 'delete' button to remove this. Continue clicking & deleting on any leftovers of background.
Note: Just make sure you don't alisin any part of the picture. If the magic wand would alisin some part, then use the eraser found at the toolbar.
Step 4: Duplicate the layer sa pamamagitan ng right-clicking the "Background" layer then 'duplicate layer'. Then click alisin again to remove the white background. The duplicated layer will now have a checkered background. Hold Ctrl + D to remove the dotted lines.
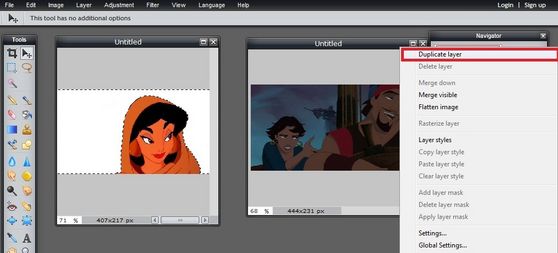
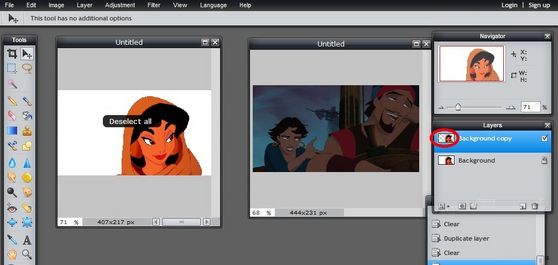
Step 5: Next, drag the 'Background copy' to the 2nd picture.

And you're basically done here. Adding effects is optional. Just discover some of the buttons there, especially the "Filter" tab.
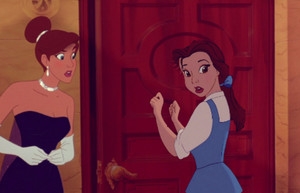
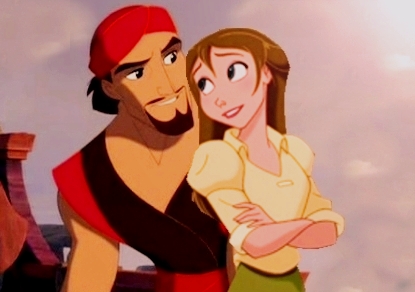
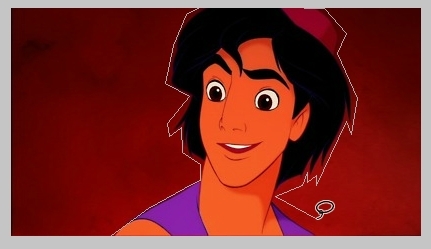
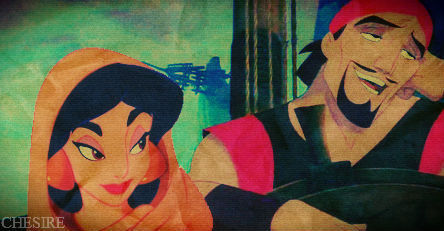
Here's my final result:

There are also other methods in extracting the picture:
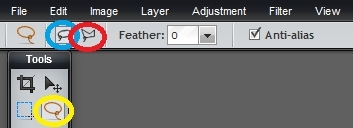
In the Toolbox, there is also the Lasso tool. It's the one that looks like a rope.
There are 2 kinds of Lasso tool, the Freehand and the Polygon Lasso tool.

In the Freehand, all you need to do is just click and hold the mouse and drag it on the picture that you want to keep. The only difficult thing there is that you have to be really careful not to hit any part of the picture that you want to keep.
In the Polygon, it's very similar to the Freehand, just click and click on the edges of the picture.
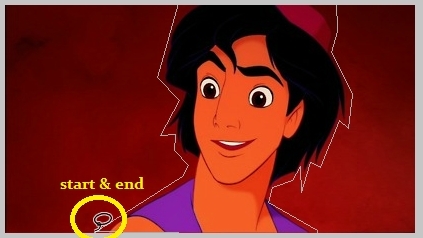
Note: On both tools, make sure you complete the whole cycle. I mean, you should end your point from where you've started.
To know that you've done this, dotted lines would appear again. Now here's what's different from the magic wand tool. When the dotted line appears, hold Ctrl + X to cut then Ctrl + V to paste the desired picture that you want to keep.
Note: Now mostly there would be some leftovers of the other parts of the picture, to remove this, use the eraser tool. This may be very time consuming but the result is great.
So this is my tutorial. It's a bit lengthy but it's the best that I could do.
If there are some confusions or clarifications, go ahead and ask. :)
Check out my other link using FotoFlexer.
Now making crossovers is a fun hobby, especially if you're pairing up your paborito characters.
So here's what you need to make a crossover:
1. litrato Editing Program - this is the main thing that you need in making crossovers. You can use any program you like. I use link It's an online editing website and you don't need to pay or register. Just get in there. xD
2. Your favored pictures. You can merge numerous characters in one picture, your choice.
Tip#1: Use picture with great quality for better result.
=====================================================================
Tip#2: Here's a great site to use screencaps of animated films. -- link
=====================================================================
Now you've got what you need, let's start with the editing.
Step 1: Choose the larawan that you want to edit.
In my sample, I used a picture of hasmin and Sinbad (with Marina).
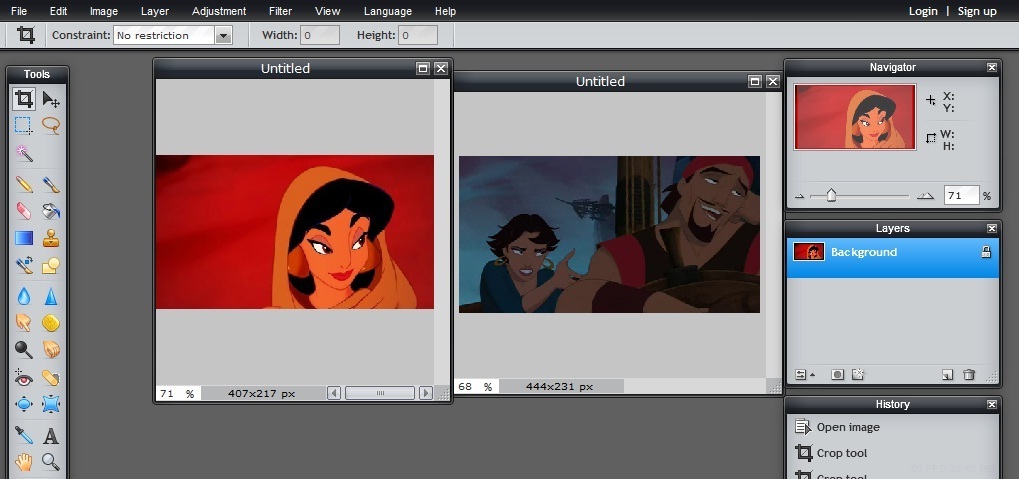
Step 2: The susunod thing you need to do is to remove the background of the picture that you want to move. The easiest way to do this is to click the magic wand tool found at the toolbar.

Step 3: Once you've clicked that, click anywhere on the background as dotted lines will soon appear. Press the 'delete' button to remove this. Continue clicking & deleting on any leftovers of background.

Note: Just make sure you don't alisin any part of the picture. If the magic wand would alisin some part, then use the eraser found at the toolbar.
Step 4: Duplicate the layer sa pamamagitan ng right-clicking the "Background" layer then 'duplicate layer'. Then click alisin again to remove the white background. The duplicated layer will now have a checkered background. Hold Ctrl + D to remove the dotted lines.

Step 5: Next, drag the 'Background copy' to the 2nd picture.
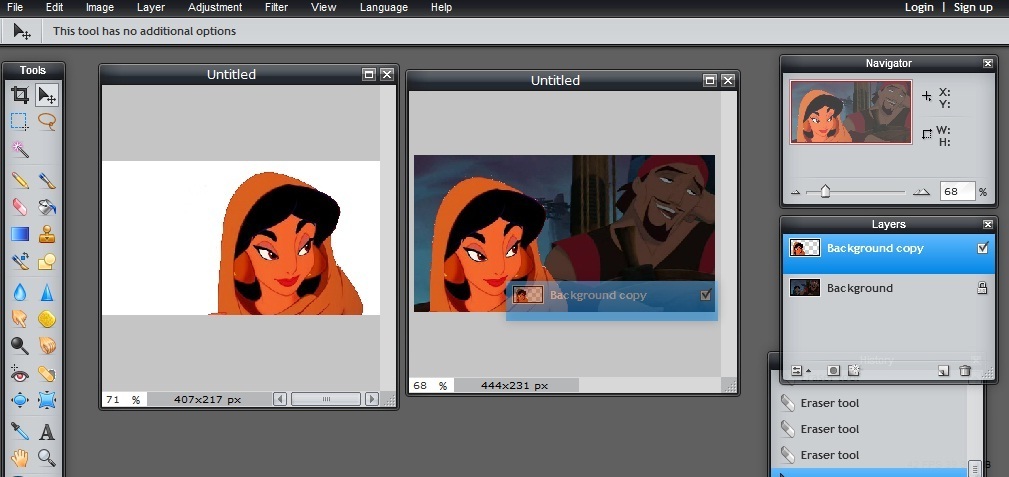
And you're basically done here. Adding effects is optional. Just discover some of the buttons there, especially the "Filter" tab.
Here's my final result:
There are also other methods in extracting the picture:
In the Toolbox, there is also the Lasso tool. It's the one that looks like a rope.
There are 2 kinds of Lasso tool, the Freehand and the Polygon Lasso tool.
In the Freehand, all you need to do is just click and hold the mouse and drag it on the picture that you want to keep. The only difficult thing there is that you have to be really careful not to hit any part of the picture that you want to keep.

In the Polygon, it's very similar to the Freehand, just click and click on the edges of the picture.

Note: On both tools, make sure you complete the whole cycle. I mean, you should end your point from where you've started.

To know that you've done this, dotted lines would appear again. Now here's what's different from the magic wand tool. When the dotted line appears, hold Ctrl + X to cut then Ctrl + V to paste the desired picture that you want to keep.
Note: Now mostly there would be some leftovers of the other parts of the picture, to remove this, use the eraser tool. This may be very time consuming but the result is great.
So this is my tutorial. It's a bit lengthy but it's the best that I could do.
If there are some confusions or clarifications, go ahead and ask. :)
Check out my other link using FotoFlexer.